Part 3: Setup Multisig
Now let's setup our first multisig vault!
The process for setting up multisig is very similar to setting up our single signature account except that we will be selecting multiple devices.
1) Click "Add a new account"
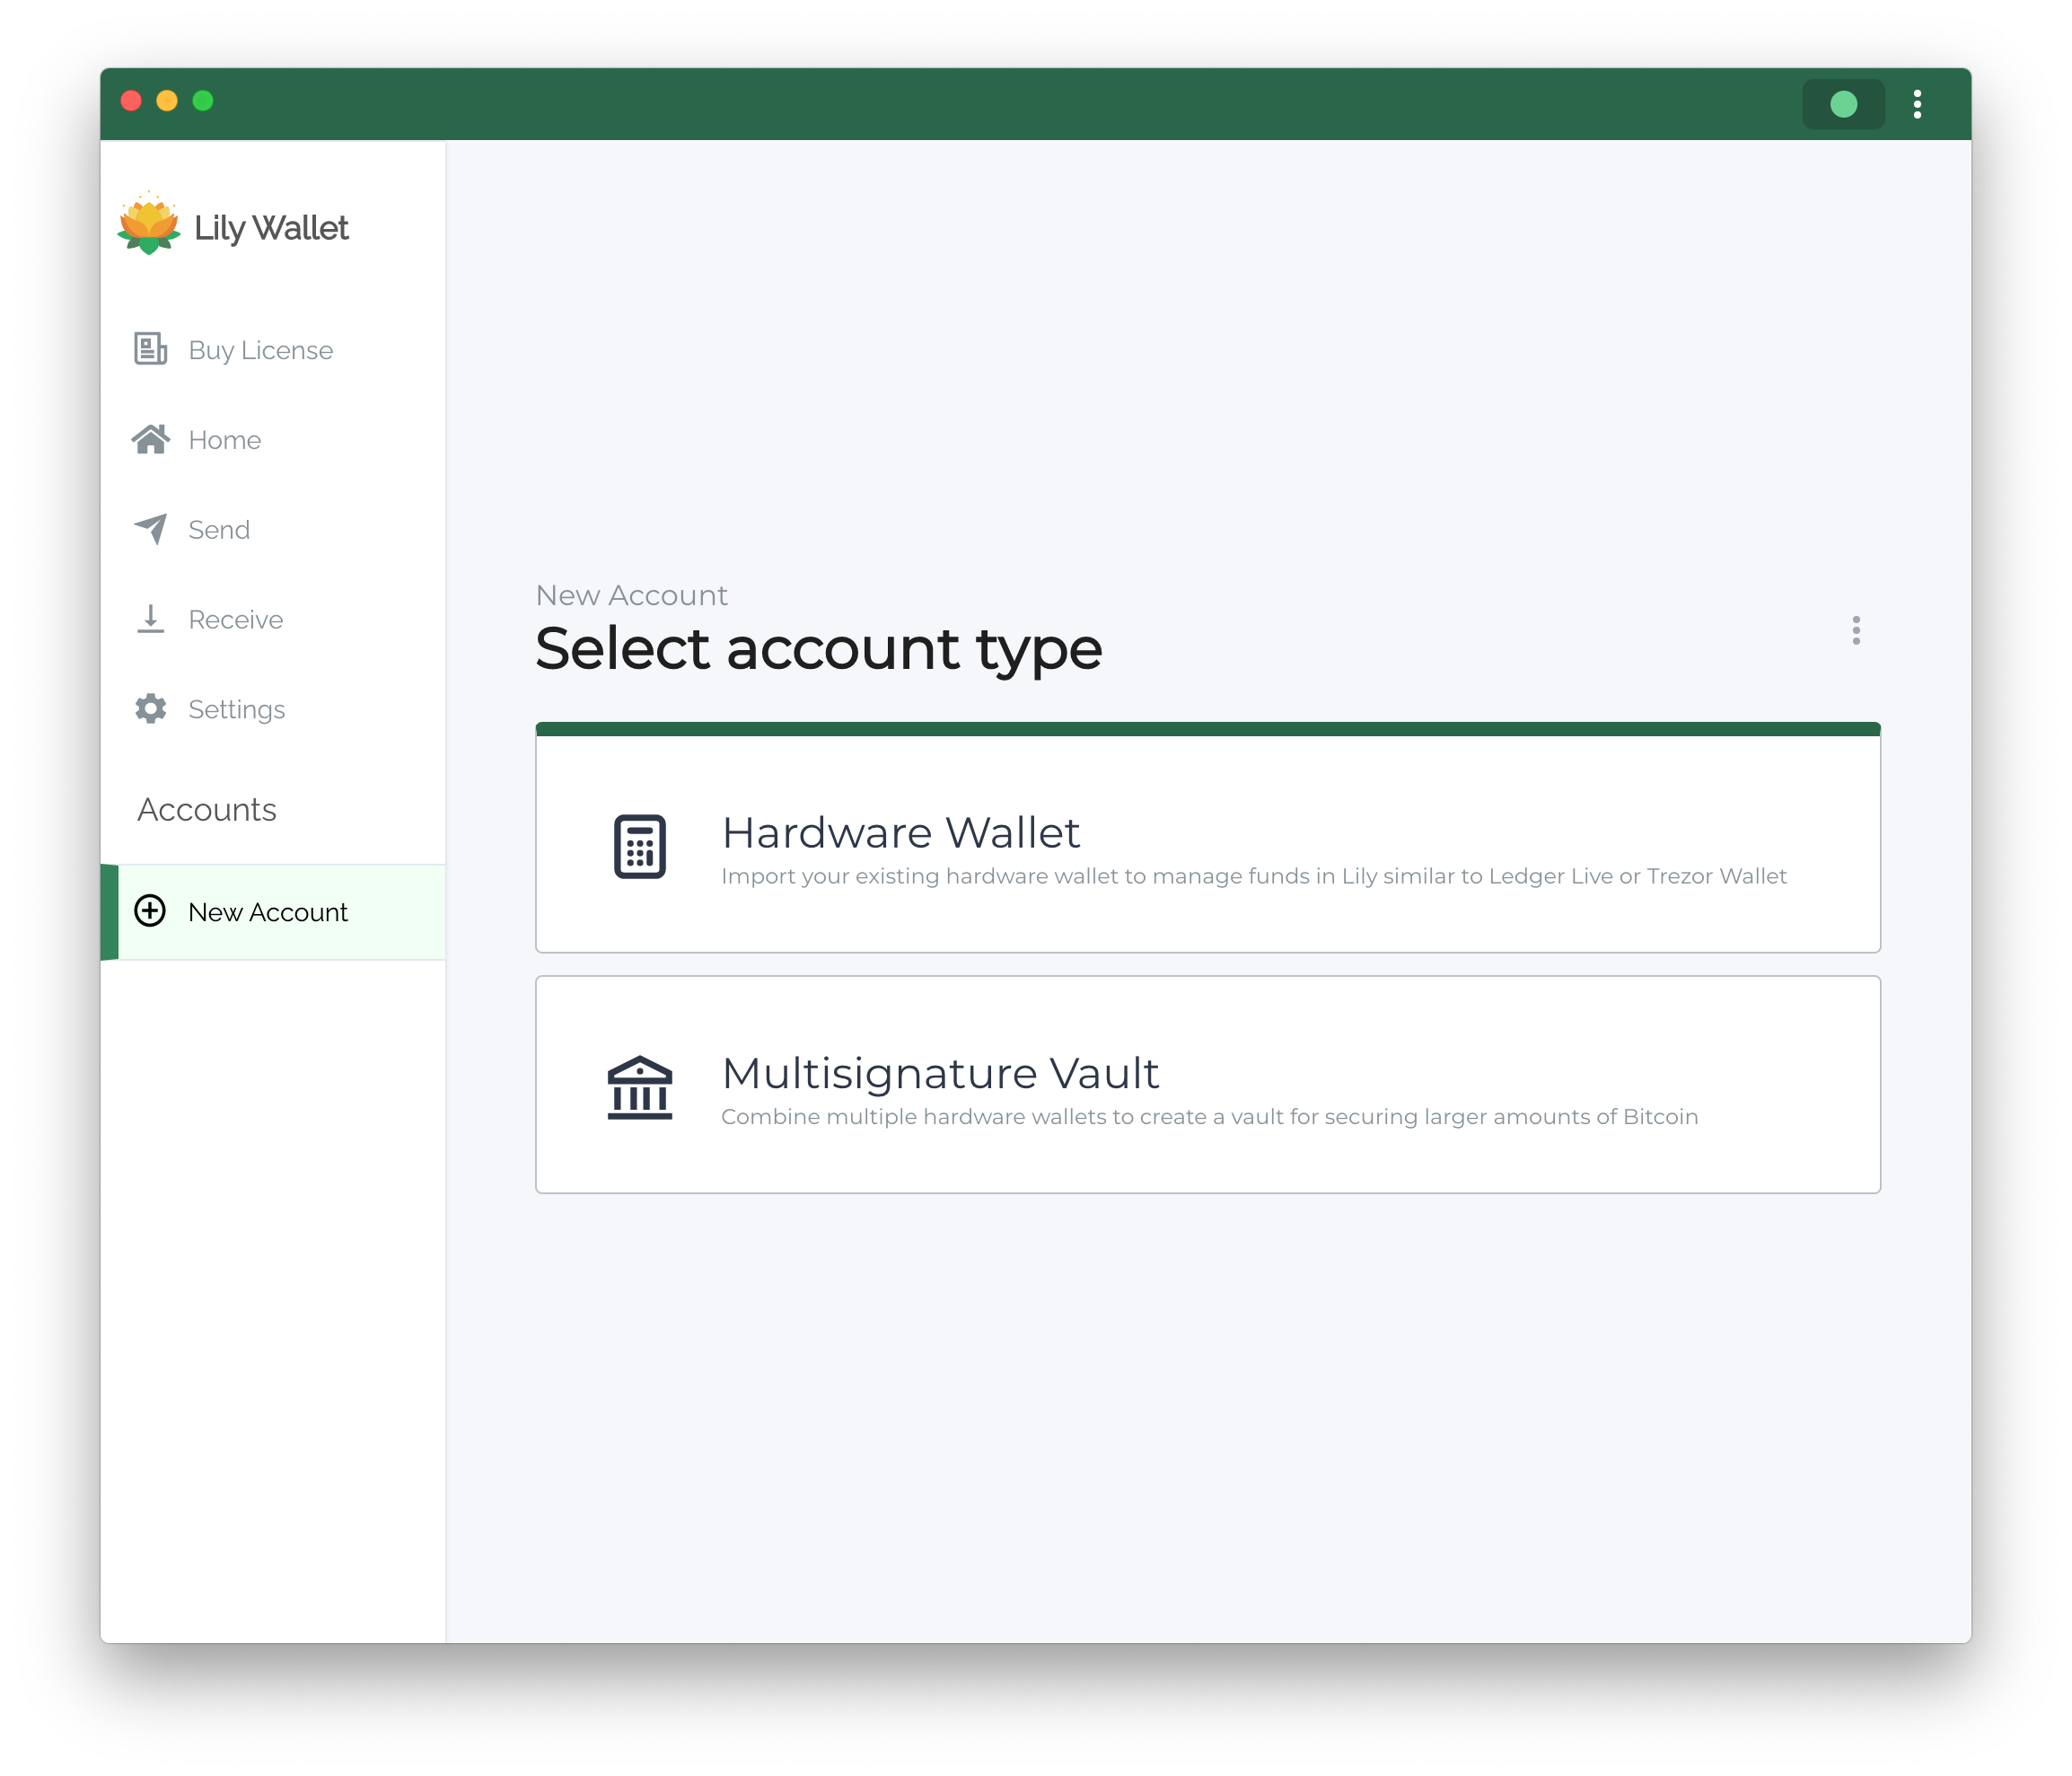
Clicking "Add new Account" on the home page or "New Account" in the app's sidebar will bring you to the New Account page.
2) Click "Multisignature Vault"
On the new account page, click on the "Multisignature Vault" option.
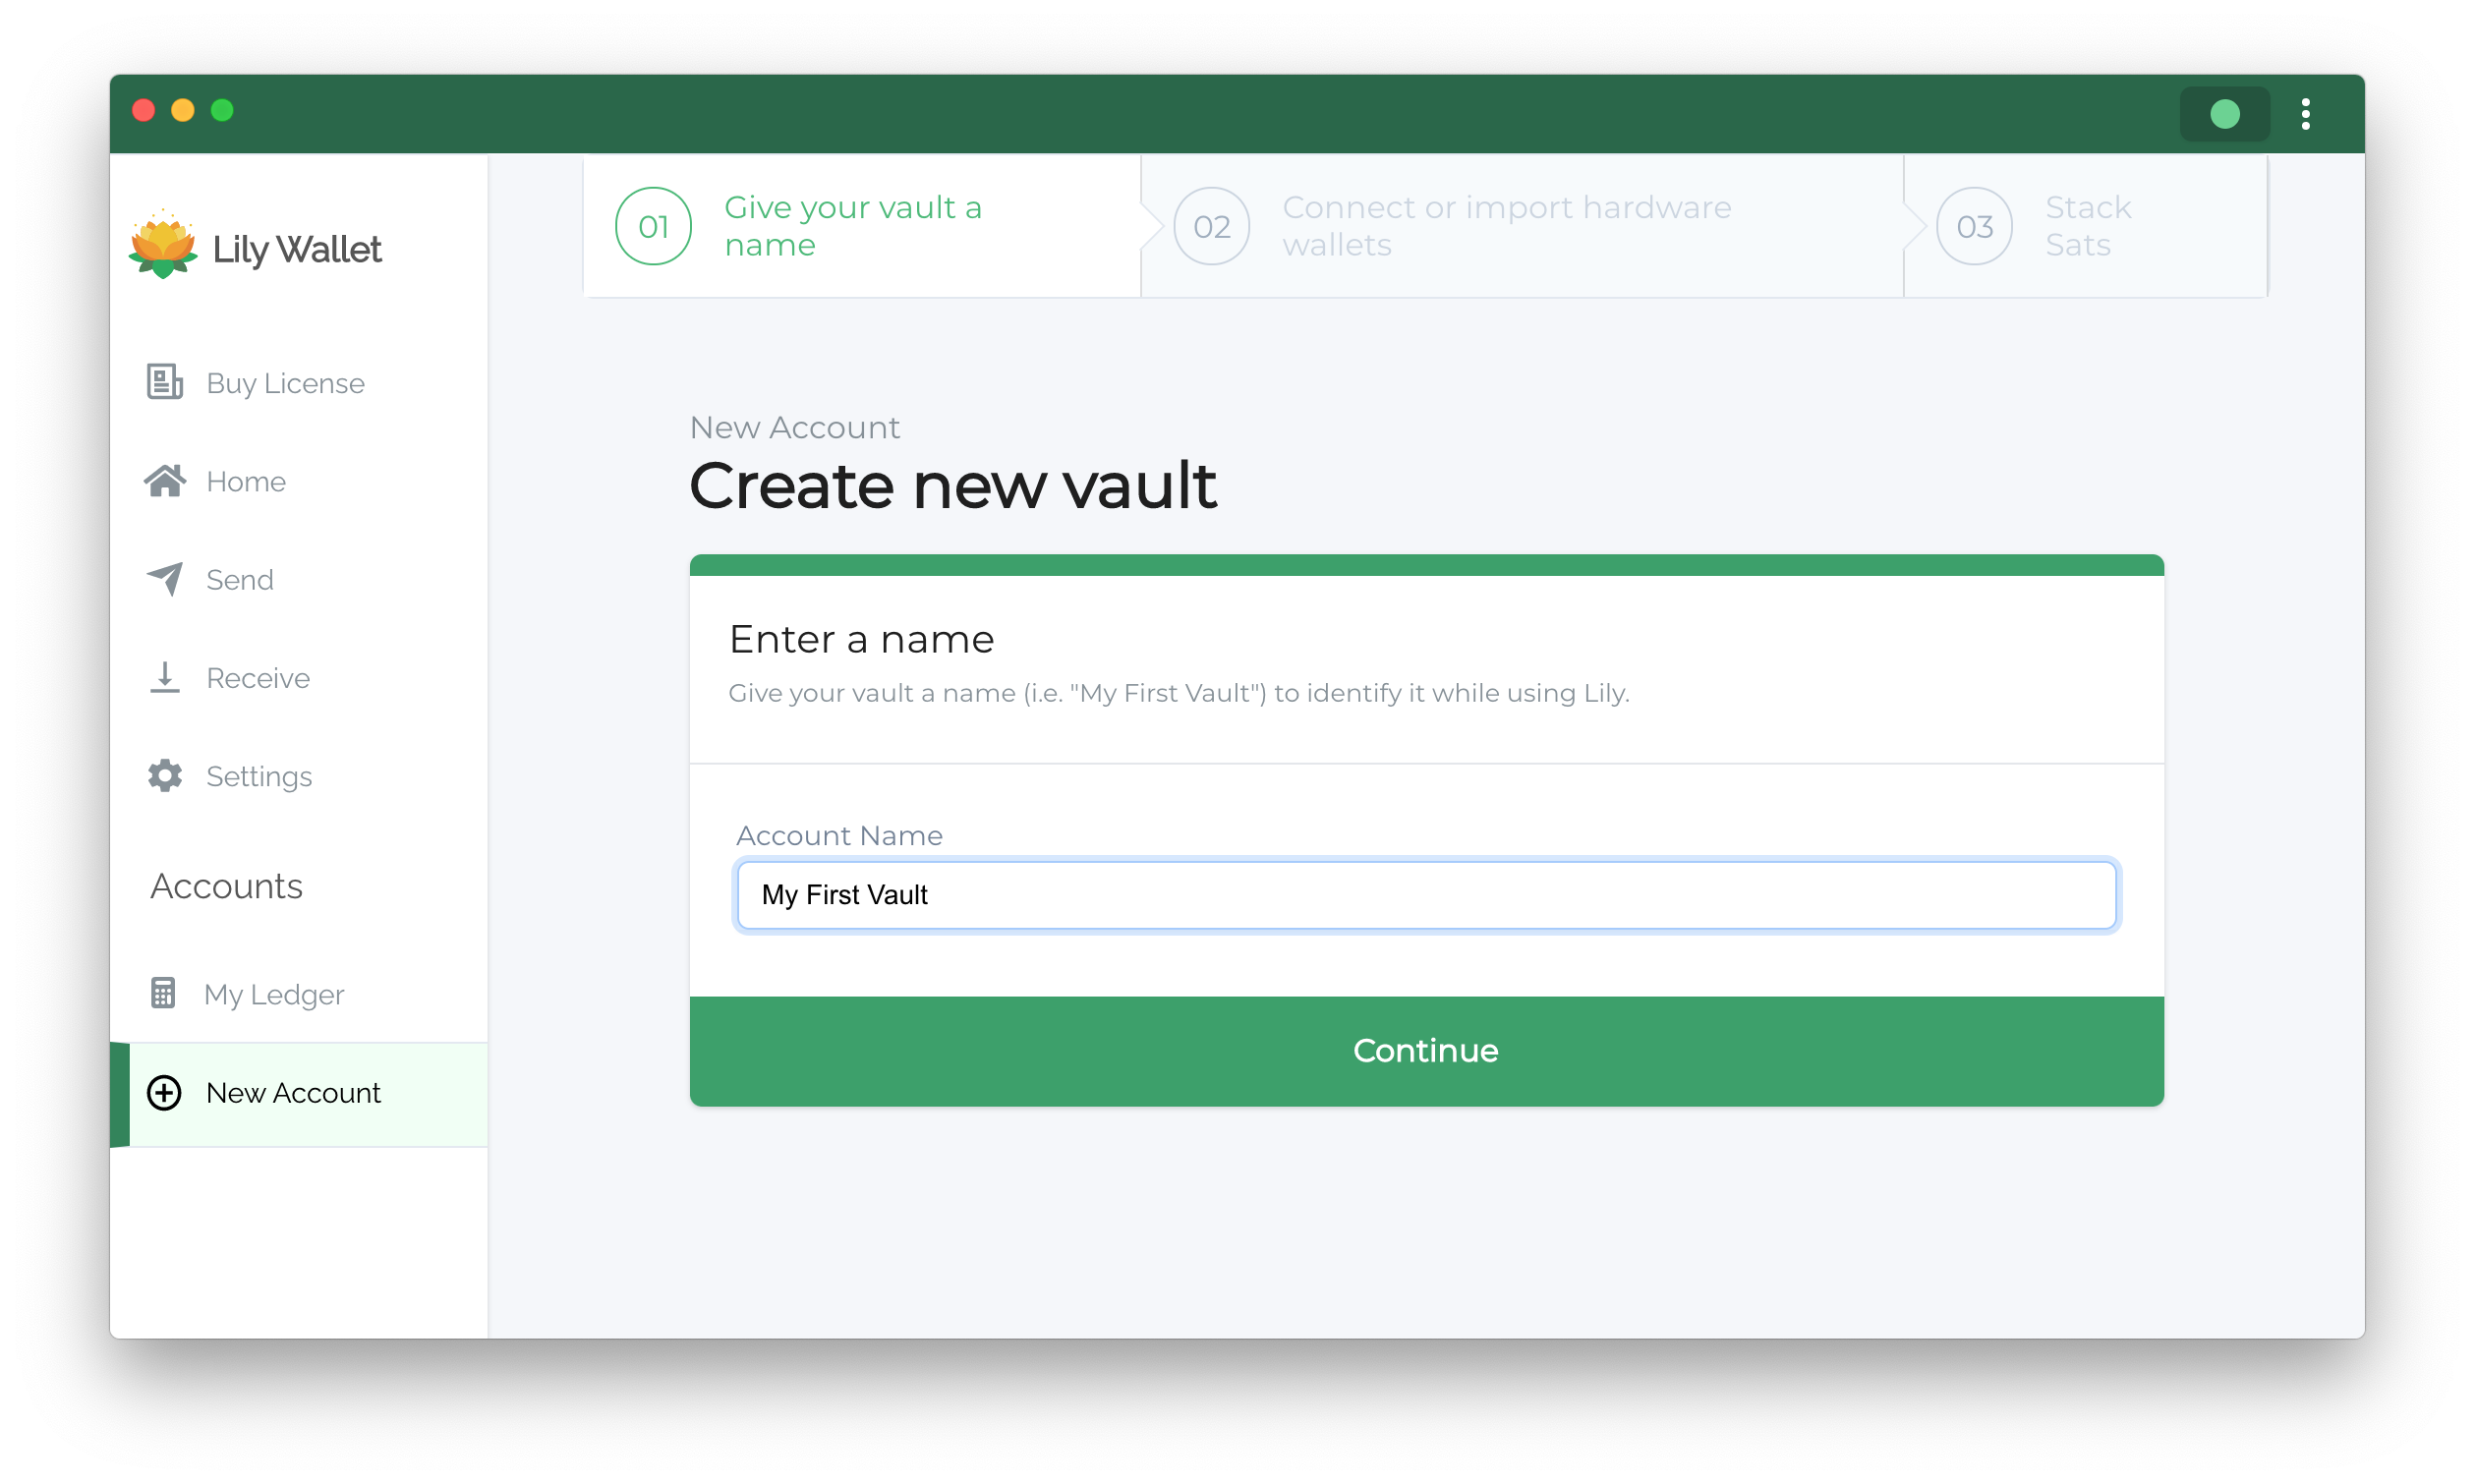
3) Give the account a name and click continue
Give your account a name to identify it when you are managing multiple accounts. For single hardware devices, users typically use the name of the device. Users can change the account name later on the account's settings page.
4) Click on all of the devices you want in your vault
Plug in all of the devices you want to add to your vault and click on them to add them to your vault.
Some devices like Coldcard support airgapping, allowing you to add a device without plugging it into your computer.

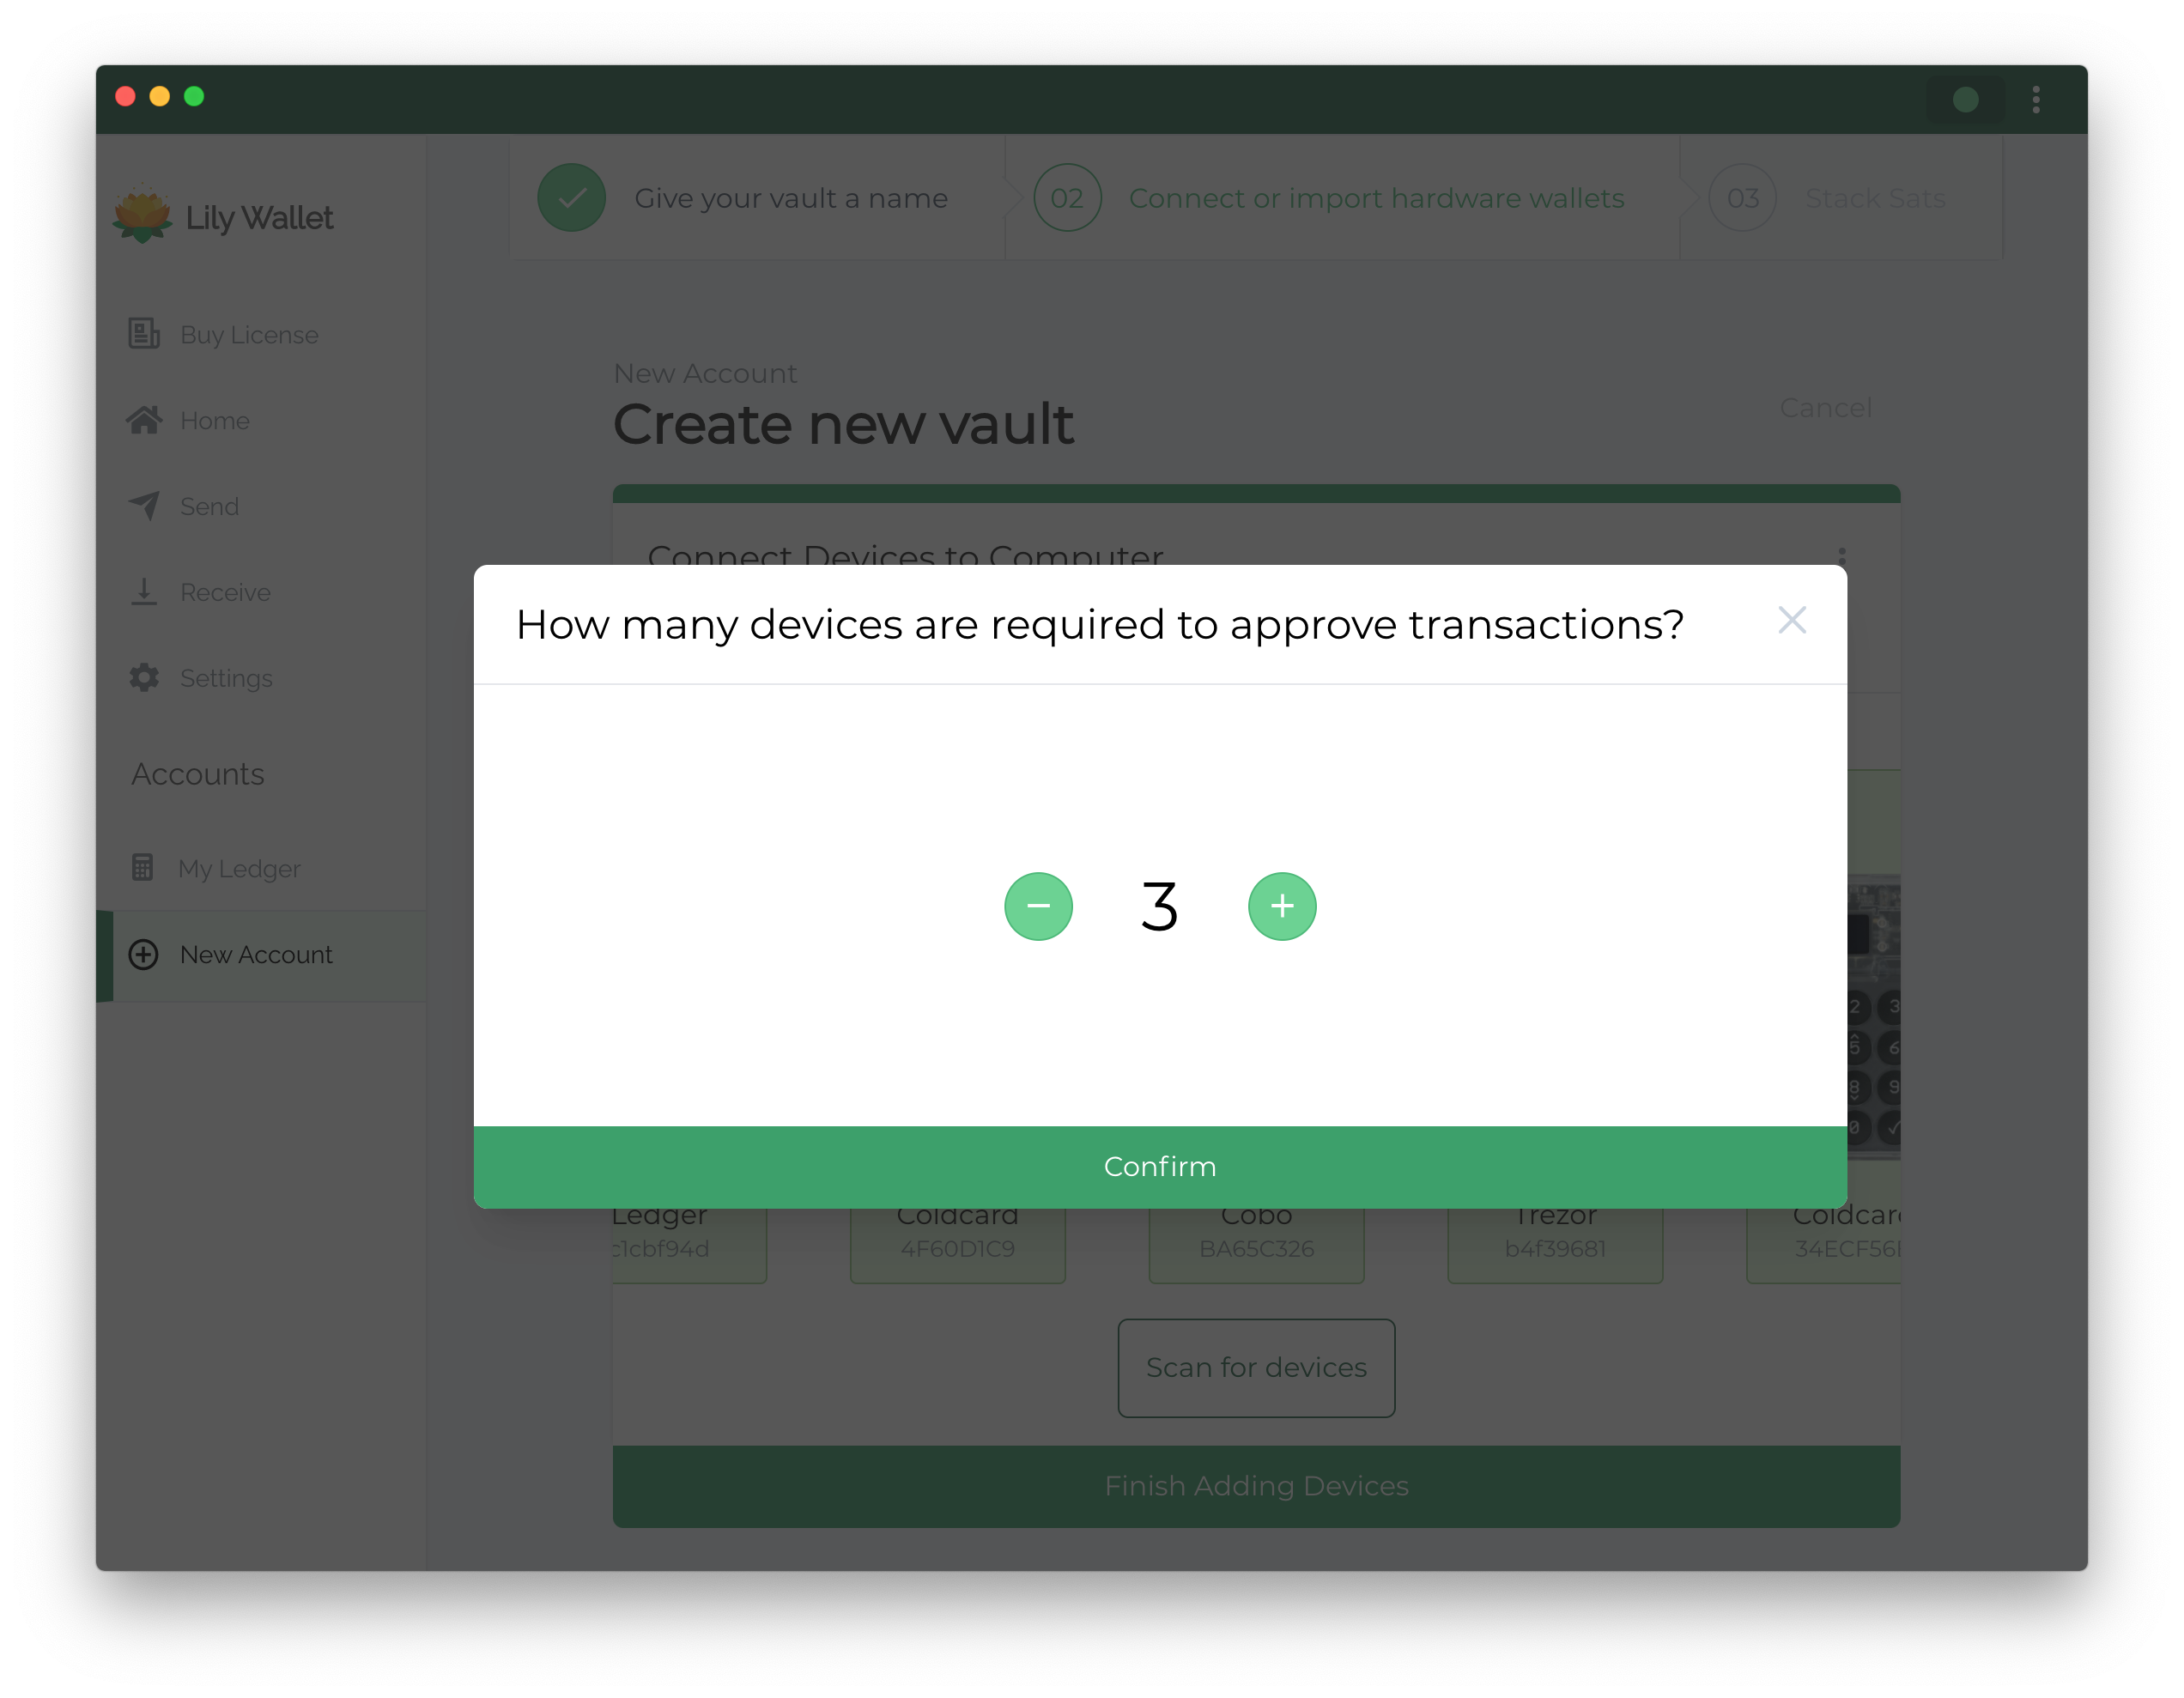
5) Select required number of signers
Select how many signers you want to require in order to approve a transaction. Most users will do either 2-of-3 or 3-of-5.
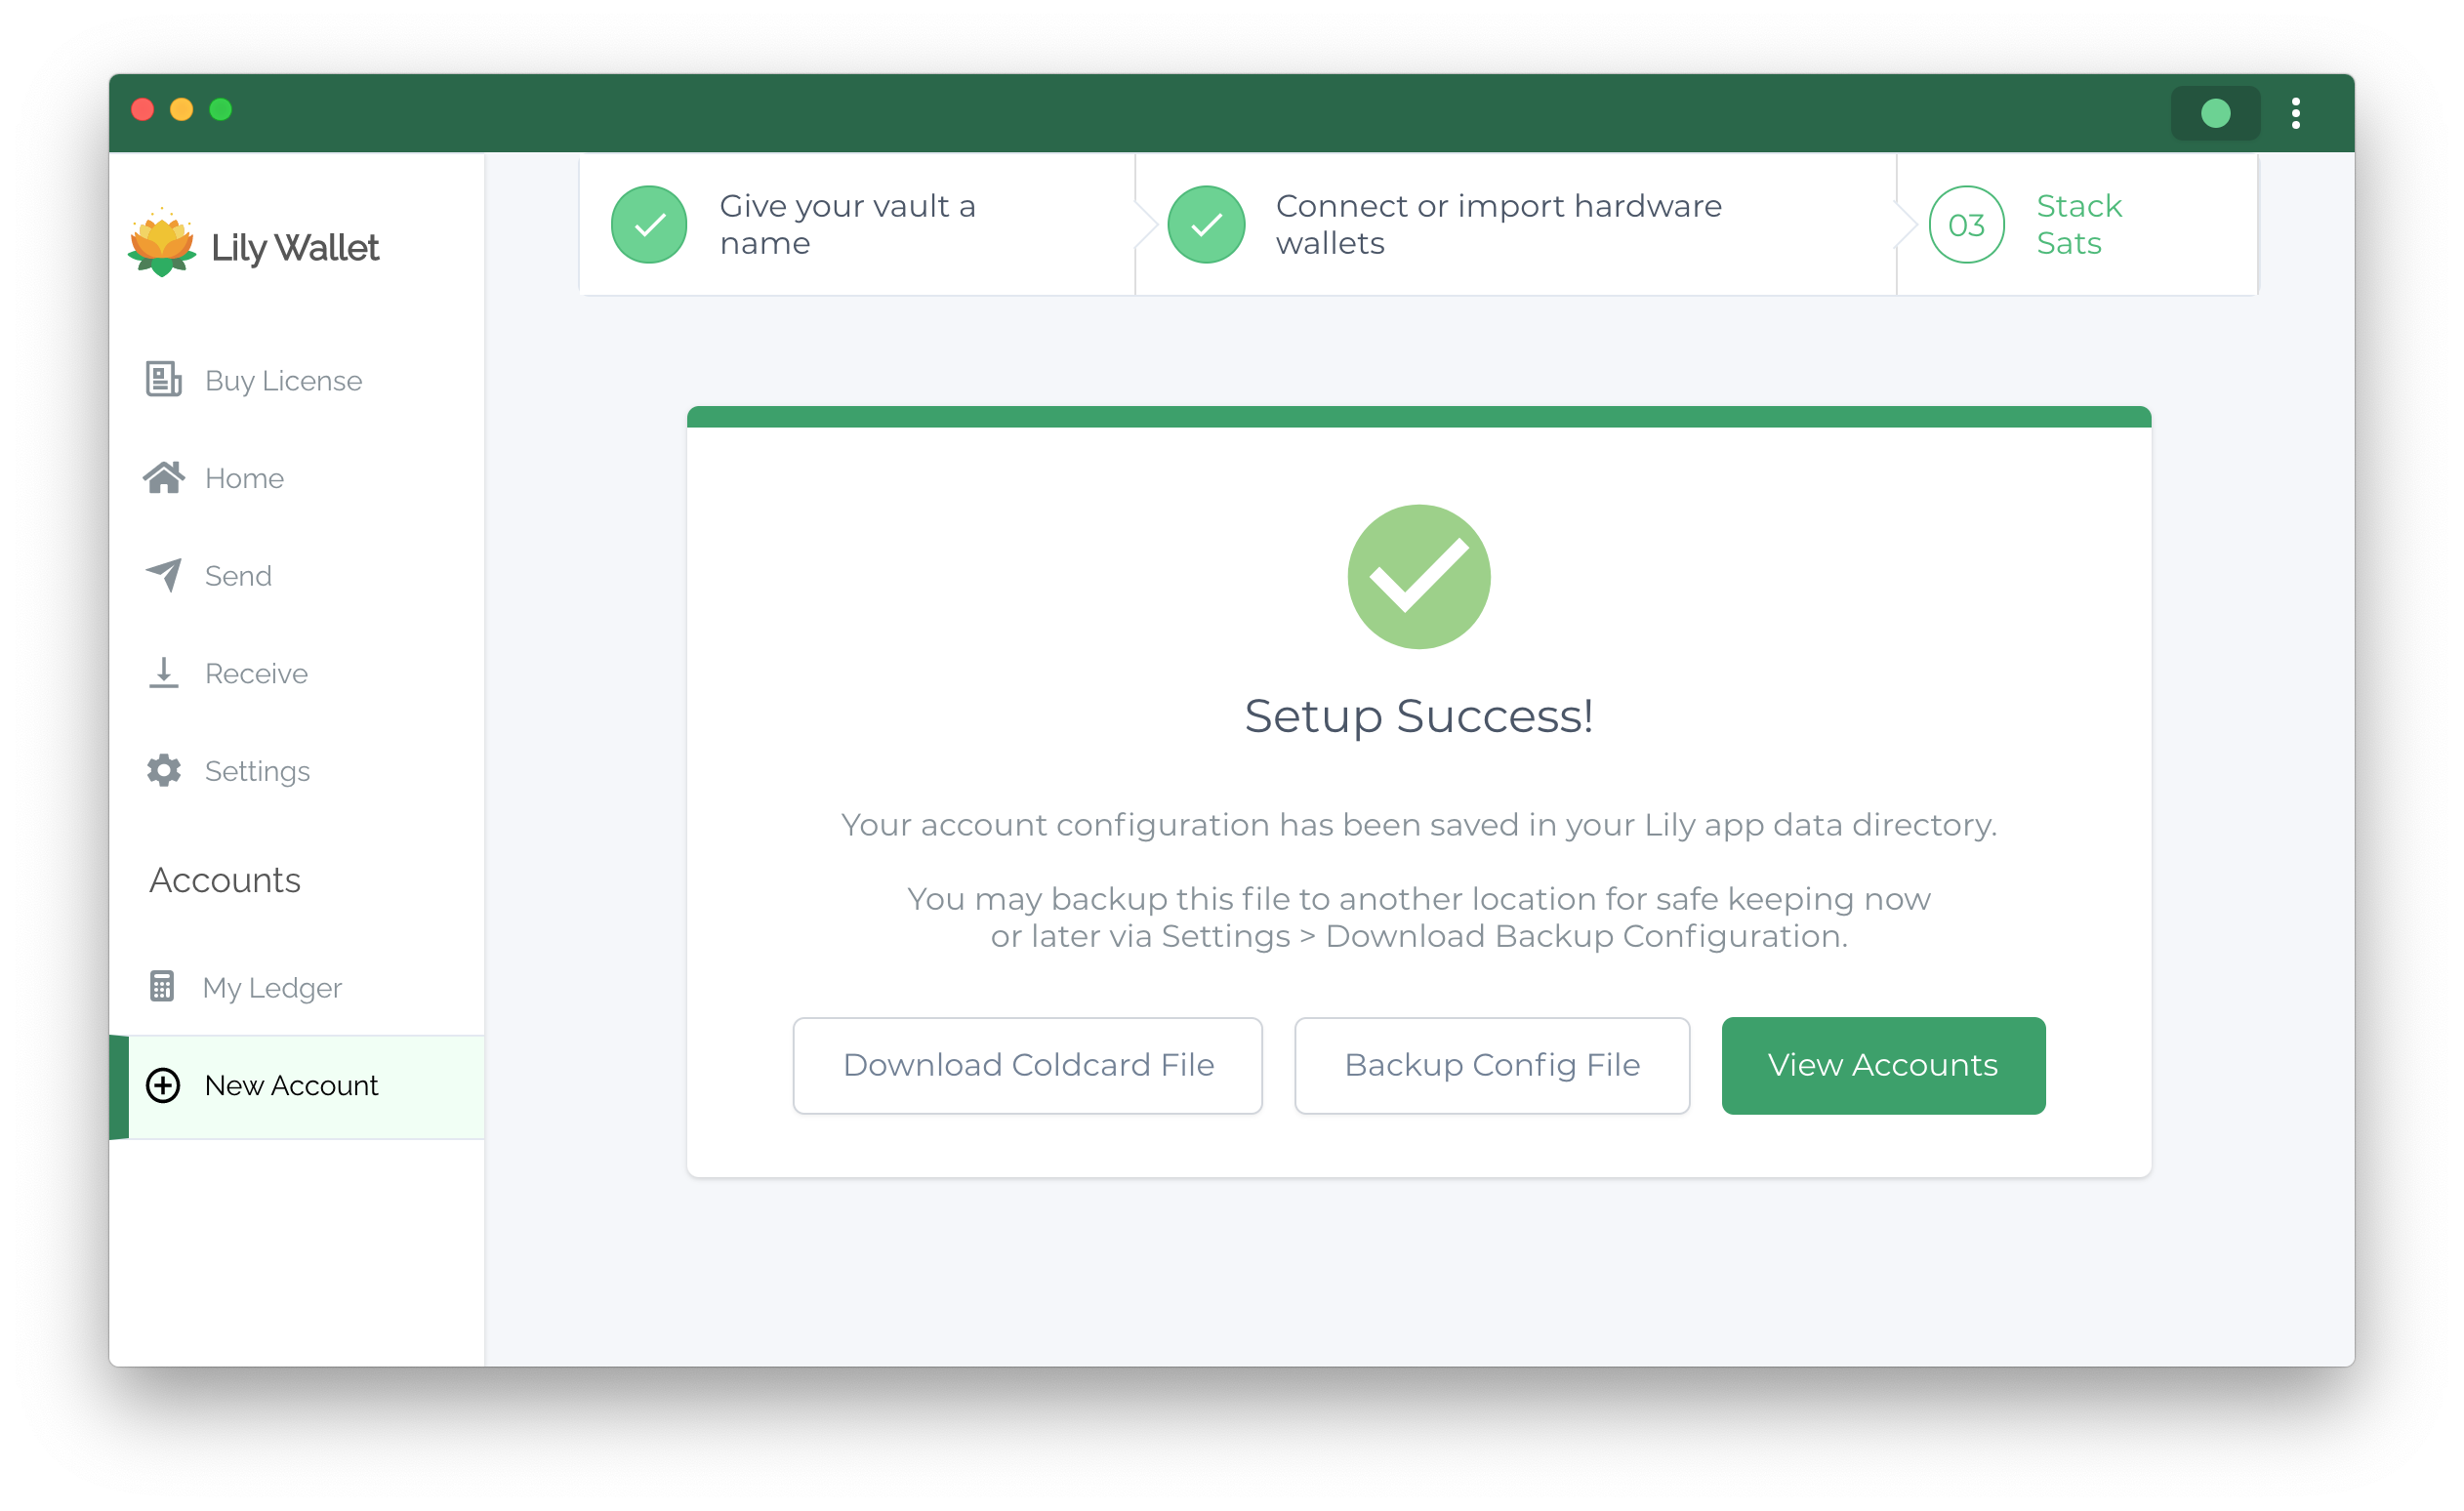
6) Start securing
That's it! You have now setup your first multisignature vault. You are prepared to store your Bitcoin for long term storage.